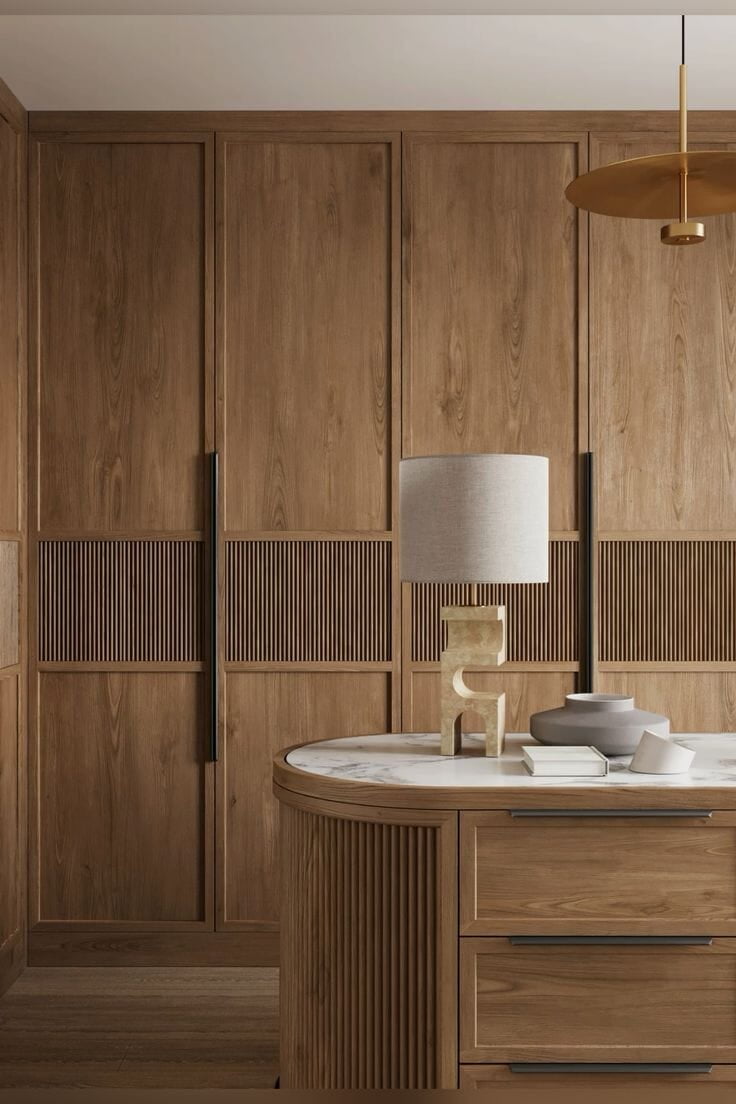
Introduction
Building a wardrobe from scratch is a rewarding DIY project that allows you to create custom storage tailored to your needs and space. Here’s a step-by-step guide covering design, materials, construction techniques, and finish ideas.

1. Planning the Design
- Assess Your Needs: Start by considering what you’ll be storing. For clothes, include sections for hanging, folded items, shoes, and accessories. Consider any special items (e.g., long coats, hats, jewelry).
- Take Measurements: Measure the space available in your room, accounting for ceiling height, floor area, and door clearance. Sketch out a rough design.
- Choose a Layout: Decide between open or closed (doors or drawers), a single wardrobe or a modular setup, and ensure it fits with the style of your room.
Common Wardrobe Layouts:
- Single Rail with Shelves: Simple and functional for smaller spaces.
- Double Hanging Rails: Good for shorter items like shirts, jackets, and pants.
- Combination of Shelves, Rails, and Drawers: Ideal for mixed storage needs.
- Modular Units: Allows flexibility, especially if you might want to add onto it later.
2. Choosing Materials
- Frame:
- Plywood: Durable, easy to work with, and budget-friendly. Look for furniture-grade plywood (3/4-inch thickness) for a polished look.
- MDF (Medium-Density Fiberboard): Smooth and great for painting. However, it's heavy and can be prone to sagging over time if used for large shelves.
- Solid Wood: High-quality but can be costly. Pine and oak are popular choices for a natural look.
- Back Panels:
- Hardboard or MDF: 1/4-inch thick panels are commonly used for the back.
- Doors:
- Plywood or MDF: Solid options if you plan to paint or laminate.
- Glass or Mirrored Doors: Can add a modern touch and make a room feel bigger.
- Finish Materials:
- Veneer or Laminate: For a woodgrain look.
- Paint: For a customizable color.
- Wood Stain: For a natural finish on solid wood.
3. Tools and Supplies Needed
- Basic Tools: Tape measure, square, level, pencil, clamps, jigsaw or circular saw, drill, screwdriver, sander.
- Advanced Tools (if available): Table saw, miter saw, and pocket hole jig for professional joints.
- Hardware:
- Screws, Brackets, and Nails: For assembly.
- Drawer Slides and Hinges: Choose sturdy ones that match your design.
- Clothing Rods, Hooks, and Handles: For the interior.
4. Building the Frame
- Step 1: Cut the Pieces:
- Start with the sides, top, and bottom panels of the wardrobe. Use a circular saw for accuracy and sand the edges for a smooth finish.
- Step 2: Assemble the Box Frame:
- Attach the top and bottom panels to the side panels using screws or pocket hole joints. Ensure everything is level and square.
- Step 3: Add Shelves and Dividers:
- Based on your layout, add horizontal and vertical dividers. You can secure shelves with brackets or directly screw them into the frame.
5. Adding Doors and Drawers
- Doors:
- Measure accurately and cut the doors to size. Attach them to the frame with hinges (choose soft-close hinges if you prefer).
- Test the doors to ensure they align properly and adjust the hinges as necessary.
- Drawers:
- Build the drawer boxes to fit the opening space, leaving clearance for drawer slides.
- Attach the drawer fronts after the drawer box is installed to align them perfectly.
6. Finishing Touches
- Sanding: Smooth all surfaces, especially edges. Use finer grit for the final pass to ensure a clean finish.
- Painting or Staining:
- Painting: Prime first if using MDF. Apply 2-3 coats of paint with a brush or roller for a smooth finish.
- Staining: Use wood stain for plywood or solid wood, following with a clear varnish or polyurethane to protect the wood.
- Add Hardware: Install drawer handles, door knobs, and any hanging rods or hooks
7. Design Ideas
- Classic Minimalist: Opt for clean lines with white or neutral colors. Use recessed handles and minimal hardware for a sleek look.
- Rustic or Industrial: Use dark-stained wood, metal handles, and exposed hardware. A weathered finish on wood can add charm.
- Modern Scandinavian: Go for light, natural wood, open shelving, and sliding doors. Pair with a soft white or pastel palette.
- Boho or Vintage: Incorporate textured or patterned finishes. Try open shelving with baskets for added texture.
8. Optional Add-Ons
- Lighting: Add LED strip lights inside for easy visibility, especially helpful for deep wardrobes.
- Mirrored Doors: A functional addition that also makes your room feel larger.
- Shoe Storage: Include angled shelves at the bottom for easy access to shoes.
- Pull-Out Drawers or Baskets: Ideal for organizing smaller items, like socks and accessories.
- Accessory Hooks and Rails: Attach hooks inside for bags, hats, or scarves.
Conclusion
By following this guide, you’ll create a wardrobe that is both functional and tailored to your style. Just take your time with each step, measure twice, and enjoy the process!


